My Homemade Mint Slice
Australian “slice” culture is something I find incredibly appealing. The word is so inviting as a portioned piece of food, and the range of options is so broad and welcoming: from the cheesy-savory zucchini slice (which I included in Snacks for Dinner) to the sticky-sweet caramel slice, and so many others.
Then there’s Arnott’s Mint Slice. This is a cookie/crisp that’s made by the same company that makes Tim Tams. I was originally a little skeptical of all the national fervor for all these cookies, but it didn’t take long for me to hop aboard. They’re just fun!
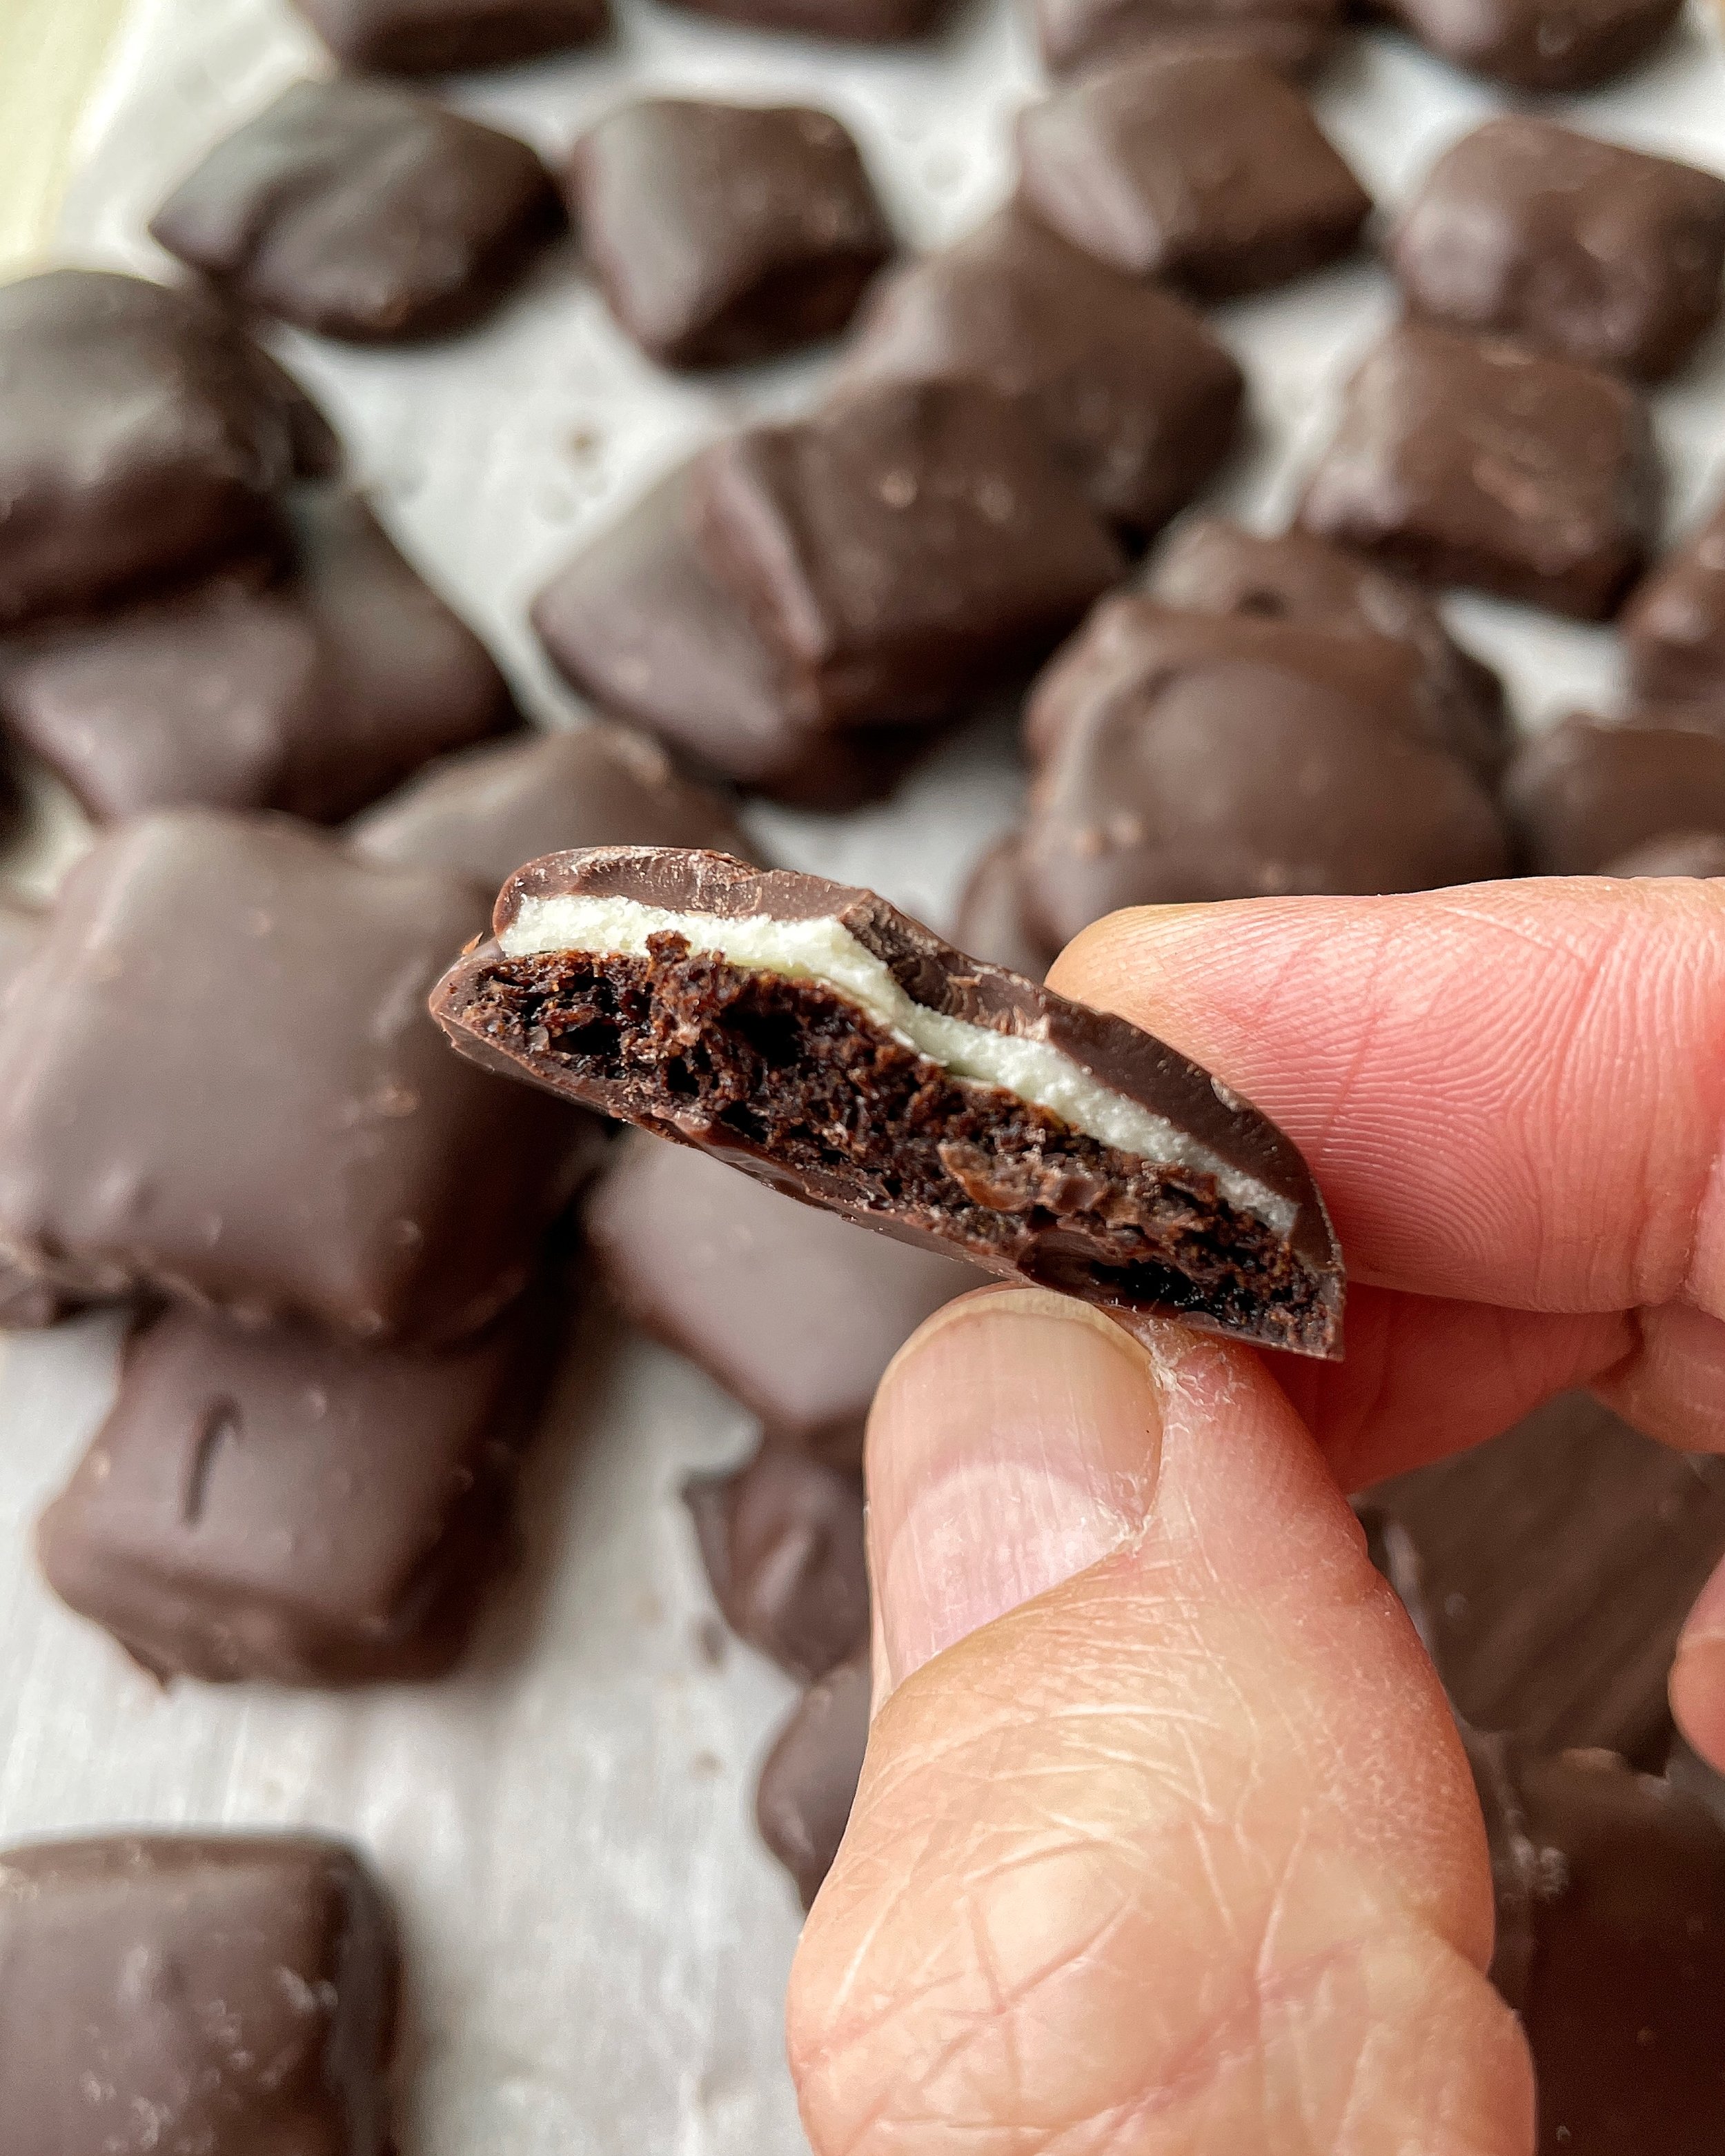
The Mint Slice is my very favorite, especially when eaten straight out of the freezer. Like Tim Tams, the they combine a crisp wafer with a creamy filling, coated in dark chocolate. When we visit family in Australia (Vincent, my husband, is Australian), we pack them into our luggage and smuggle them back.
Truthfully, the mint slice is not the kind of thing you want to make at home very often. It’s a project — lots of steps, a bit messy, some fussiness. But while you can find Tim Tams in the United States at World Market (though they’re not as good — it’s a Mexican Coke story; blame it on the corn syrup), Mint Slices seem to only be available Down Under. So I had no choice. My work was set out for me. I’ve included lots of notes below.
This recipe was sent to free subscribers of my Substack newsletter, Family Friend. Subscribe now to be the first to get new recipes similar to this one.
My Homemade Mint Slice
I’ve opted for a square-shaped cookie to minimize wasting the dough when trimming. But use a round cutter if you like. You’ll need to cut the cold filling to match the size of your cookie.
You’ll need several sheets of parchment, which simply make rolling and handling things much easier, and a ruler, too. Also, your freezer or fridge is your friend here.
Mint/peppermint extracts vary a lot in strength from one brand to the next. The Nielsen Massey brand is my favorite. The McCormick’s one is a bit weaker.
Please use a scale if you have one!
These are gluten-free — I tested both ways, and like the almond flour version better.
My Instagram reel might have a few visuals that are helpful.
Lastly, I tried tempering chocolate for the coating and, frankly, I’m never doing that again. My friend Ben Mims directed me to Ghirardelli Dark Chocolate Melting Wafers, which aren’t perfect but are much, much easier to use. Depending on your skill level and personal chocolate criteria, you may want to use melted bar chocolate without tempering (which means it may develop streaks when it hardens, and melt on your fingers), or maybe you want to give tempering a go! Good luck.
Yield About 40 cookies | Prep & cook time About 2 hours
Chocolate wafer
6 tablespoons (85g) unsalted butter, softened
5 tablespoons (50g) powdered sugar
½ teaspoon vanilla extract
¼ cup (28g) cocoa powder, preferably Dutch-process, spooned and leveled
½ teaspoon fine grain salt or ¾ teaspoon Kosher salt
1 cup (100g) blanched almond flour, spooned and leveled
1 tablespoon arrowroot or cornstarch
½ teaspoon baking powder
Mint syrup
2 tablespoons granulated sugar
1 teaspoon mint or peppermint extract
1 tablespoon water
Minty filling
1 ¼ cup (130g) powdered sugar
2 tablespoons (28g) softened butter
1 teaspoon mint or peppermint extract
½ teaspoon pure vanilla extract
Pinch salt
2 to 3 teaspoons milk (nondairy is fine)
Chocolate coating
18-20 ounces (500g) dark chocolate for coating, or dark chocolate melting wafers, such as Ghirardelli (see above)
1. Prep your parchment & preheat the oven. Lay out two sheets of parchment paper and on each one draw out a rectangle 7 ½ x 10 ½ inches. Flip each one over and make sure you can see the outline through the paper. Preheat the oven to 325°F.
2. Make the wafer dough. With a stand or hand mixer, beat the butter, powdered sugar, and salt together until light and fluffy. Beat in the vanilla, then add the almond flour, cocoa powder, arrowroot, and baking powder, and beat on low speed until a dough forms. Scrape this mixture onto one of the parchment sheets (make sure the outline is facing down) and cover with another sheet of parchment. Evenly roll out the dough until it fills the rectangle, then transfer to the refrigerator and chill in the freezer for 5 minutes or the refrigerator for 25 to 30, until firm.
3. Cut & bake the wafers. Tidy up the rectangle by trimming the edges, then carefully cut into 1-½ inch squares. (I use a ruler to space out 1-½ inch markings along each length and width of the rectangle, and then let that guide my cuts.) If the dough has softened, return to the refrigerator or freezer until firmed up. Then space out the cookies between two parchment-lined baking sheets (they’ll spread a touch) and bake for 16 to 20 minutes, until very fragrant and firmed up. They’ll crisp as they cool.
4. Make the mint syrup. While the wafers are baking, make the mint syrup by combining the sugar, extract, and water in a small saucepan and heat over medium, swirling constantly, just until the sugar dissolves. After the cookies come out of the oven, brush each one lightly with the mint syrup. Then let the cookies cool completely.
5. Prepare the mint filling. In the mixer, beat together the powdered sugar and butter until it’s evenly incorporated, then add the extracts, salt, and 2 teaspoons milk. A buttercream-like frosting should have formed; if it’s too dry, add a few drops more milk, but do so cautiously. Repeat the same process as with the wafer dough, rolling the frosting between sheets of paper on top of the second rectangle guide you made. Slide the whole unit into the freezer or refrigerator until it firms up. Then cut into 1-½ inch squares to match the size of the cookies. Return the whole sheet to the freezer to firm back up, then use a thin offset spatula to loosen the mint squares from the parchment and place one on top of each cookie. Store the cookies in the refrigerator.
6. Dip in chocolate and chill. Melt your chocolate, either in the microwave or in a double boiler. Remove from the heat and dry the base of the boil if using a double boiler, then set it in your workstation with the assembled cookies and a parchment lined baking sheet. One by one, dip the cookies in the chocolate using two forks to gently and quickly coat them all over, then arrange on the prepared baking sheet. Allow the chocolate to firm up, then store the cookies in an airtight container in the refrigerator or freezer for up to a few weeks.